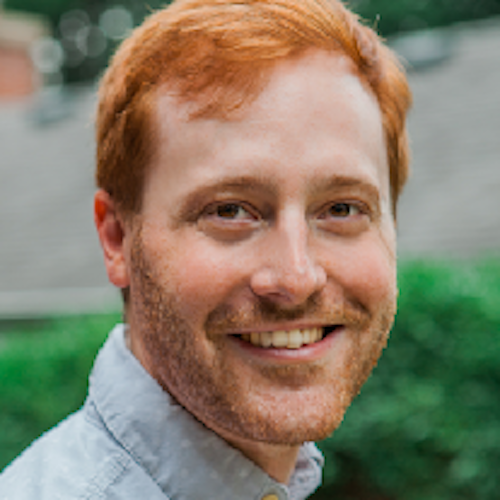
Marc Musynzski
Los Angeles, September 14 – As the 2021 cohort of RespectAbility’s Summer Lab for Entertainment Professionals with Disabilities approached the conclusion of eight weeks together, the group was joined by Lab alumnus Marc Muszynski to chat about what comes next after the program. He offered plenty of insight and tips for leveraging the connections made within the Lab to help further your career, and also shared some of his own experiences after completing the Lab in 2019, including writing for the upcoming Showtime revival of Dexter.
“Sometimes, you’ve just got to ask to be a part of stuff,” Muszynski started off the conversation by urging the cohort members not to be afraid to ask for the opportunities they want. He went on to explain how before the Lab, he had trouble finding an assistant job since he does not drive due to being legally blind, and many entry-level jobs in the industry require employees to drive and run errands throughout the day. But he kept asking around for work and applying to jobs, and eventually found a part-time student internship (which he qualified for by enrolling in LA City College), which helped kickstart his career, eventually leading to more work on desks at other studios and networks, all while Muszynski also was writing and refining his own scripts, and continuing to build his network of industry connections.
“In that process of being an assistant, you meet a lot of people at the one place where you’re an assistant,” Muszynski explained regarding the connections he made within NBCUniversal while working as an assistant. He shared how he eventually leveraged those connections to land a Showrunner’s Assistant gig on a pilot, which then turned into to a Writers’ Assistant gig after the show was picked up. “There was a lot of luck involved,” Muszynski acknowledged during the recounting of his journey to the writers’ room, which speaks to the overall idea of how even with a combination of talent, training, and hard work, sometimes just being in the right place at the right time can help open doors to a career in the entertainment industry.
“Once I got to the Lab,” Muszynski continued, “it was awesome, because I was meeting other people with disabilities in entertainment who I could learn from, and also we met people at a wide variety of different places, versus just a ton of connections in one place.” When it comes to following up and networking with all of these contacts, Muszynski recommended looking for non-industry related areas of interest that you share in meetings so you can connect with people on a more personal level when you continue to check-in, rather than only focusing your conversations on asking for jobs or industry favors.
Muszynski also shared some relevant insight from his previous career in marketing, which is that it typically takes people around nine times of seeing and/or interacting with a product before they feel like they are ready to buy or invest in the product. “In some ways, I think [networking] is like that too,” explained Muszynski. “You might meet someone at a Lab event, and then you might bump into them somewhere else, and then your script might get submitted to them for something. And each of those times, it feels like you’re running into someone, and then nothing is coming from it. But the reality is you’re slowly working towards the moment where they start to invest in you.”
Ultimately, Muszynski emphasized the importance of staying in touch with your peers who are also working towards a career in entertainment, and are frequenting the same places as you i.e. writers’ groups, classes, networking events, etc., because those are the people who will eventually move up to places where they can hire you, and vice versa, and it’s this process of opening doors for each other that will help us build a more inclusive future in the industry.
RespectAbility’s third annual Lab for Entertainment Professionals with Disabilities brings authentic and diverse portrayals of people with disabilities to the screen by creating a pipeline of diverse professionals with disabilities behind the camera. Participants include people with physical, cognitive, sensory, mental health, and other disabilities ranging in age from people in their 20’s through their 50’s. Lab alumni from 2019 and 2020 currently work for a variety of studio partners including Nickelodeon, Paramount Pictures, and The Walt Disney Company, as well as in writers’ rooms for Netflix’s Mech Cadet, CW’s 4400, and Showtime’s Dexter, among others. Others have had films featured at festivals such as SXSW and participated in additional career track programs including with Film Independent and Sundance Institute.